 by
by 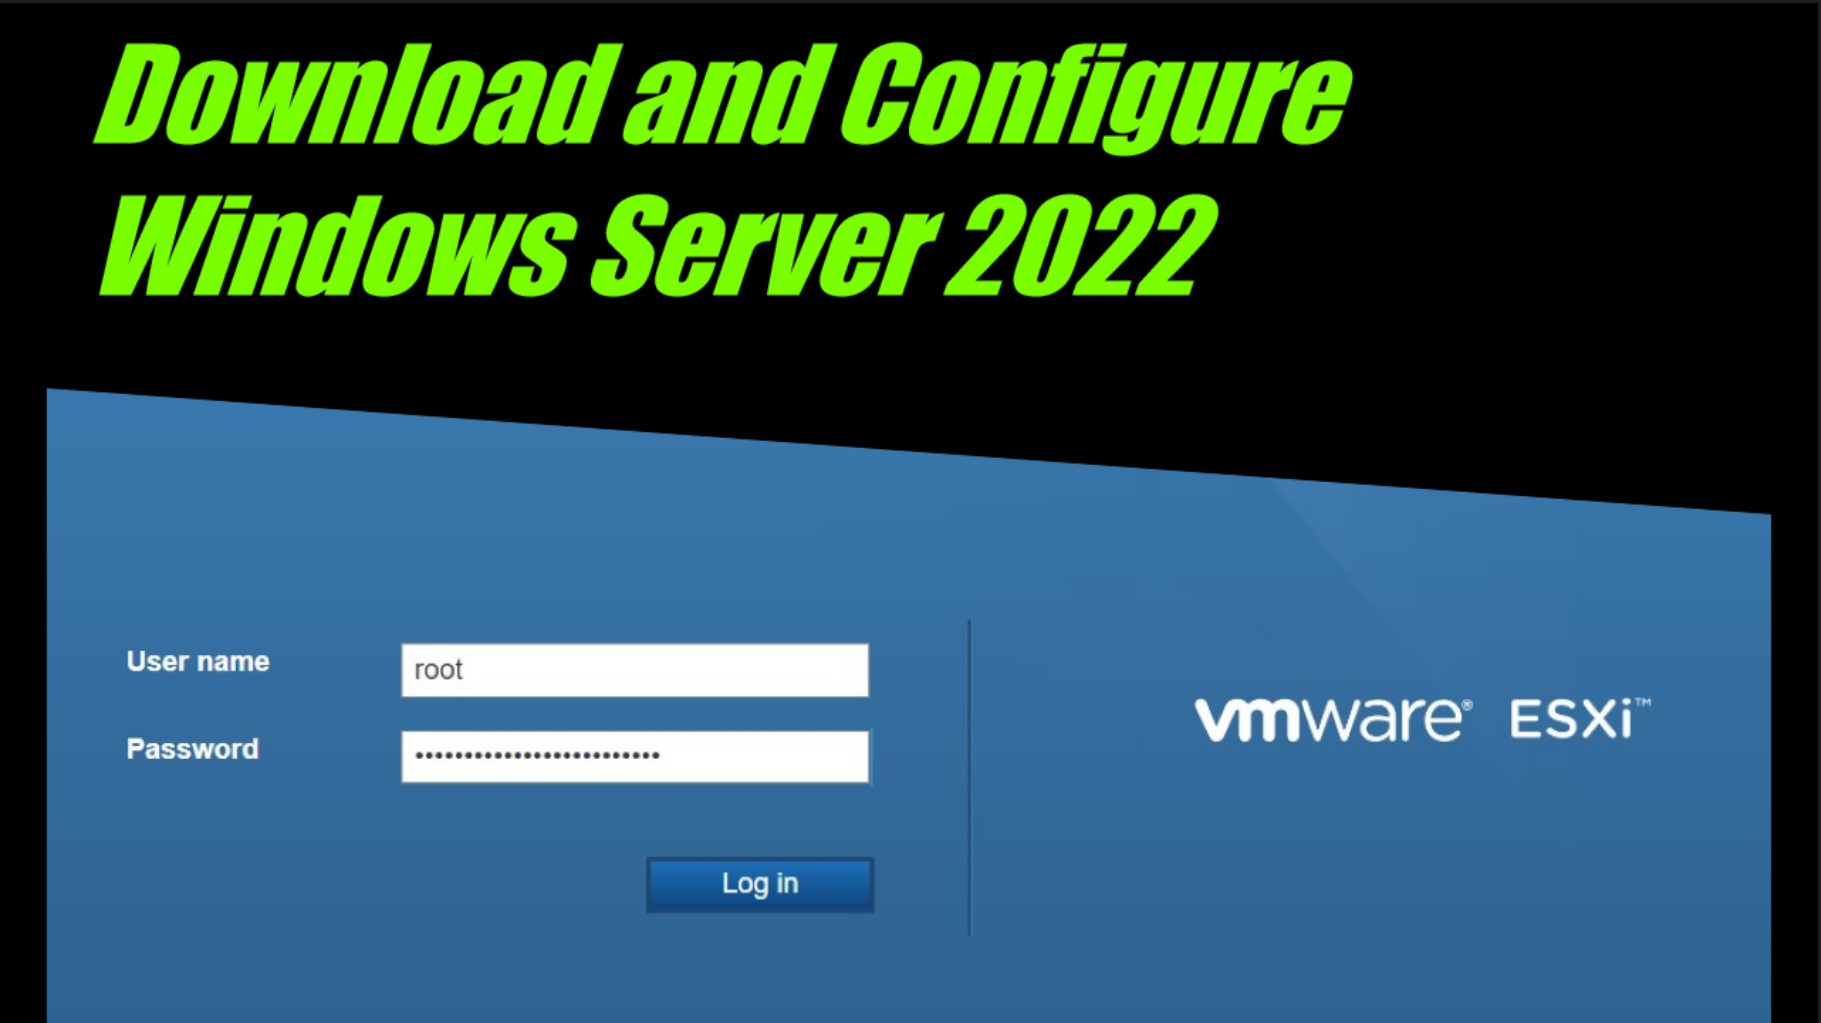
Here we are again, ready to download and install Windows Server 2022. We skipped the step of our original plan to install and configure the Firewall, but we will come back to that once the device is delivered. The good news is that we don’t need the firewall in place for these next few steps. If you recall from my original post, we are planning for a Windows Environment, so Windows Server will be a must. Feel free to go back and read that post if you want to see where we are starting. Otherwise, lets dive right in!
DISCLAIMER
Please understand that the content herein is for informational purposes only. This existence and contents shall not create an obligation, liability or suggest a consultancy relationship. In further, such shall be considered as is without any express or implied warranties including, but not limited to express and implied warranties of merchantability, fitness for a particular purpose and non-infringement. There is no commitment about the content within the services that the specific functions of the services or its reliability, applicability or ability to meet your needs, whether unique or standard. Please be sure to test this process fully before deploying in ANY production capacity, and ensure you understand that you are doing so at your own risk.
Project List
- Download and Install vSphere (ESXi)
- Install and Configure OPNsense Firewall
- Download and Install Windows Server 2022
- Download and Install FreeNAS or Configure Synology (TBD)
- Install Windows Server and Configure Veeam Backup Server
- Install Windows Server and Configure ManageEngine Patch Manager
- Download and Configure MFA solution (Duo or KeyCloak)
- Evaluate Home Lab against initial requirements list
- Write Lessons Learned Blog post
- Plan Next Steps for Home Lab including Expansion
Table of Contents
Download Windows Server 2022 Evaluation
Configure Virtual Machine in ESXi
Install Windows Server 2022
Conclusion
Download Windows Server 2022 Evaluation
The first step in this process is to get Windows Server 2022. This process may take some time depending on your download speeds, so we can go through these steps and you can move on to the next section while this downloads. So lets get started with this section.
- First, we need to get the ISO so we can install Windows Server. Navigate to this LINK or search “Download Windows Server 2022 Evaluation” in the browser search bar.

2. Download the version you need, in my case is will be English (United States). Look for ISO downloads, and choose the 64-bit version. As this downloads, you can skip to the next section, but come back when you are done for the next few steps.
Welcome Back!
3. Once the ISO is downloaded, before we can do anything with it, we need to make it available in ESXi for us to add to a virtual Machine. Navigate to the web page of your ESXi host, and get signed in.
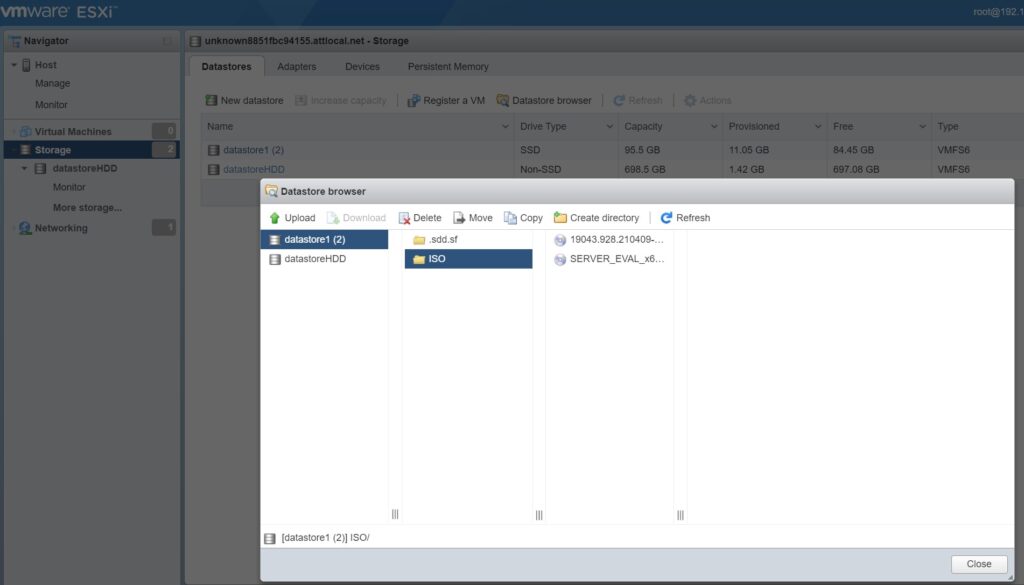
- Once you are signed in, you need to go to Storage on the Left. You should see the drives you have installed on this host. Find one where you can store ISO’s, and use the Datastore Explorer to navigate that storage datastore.
- If you don’t see any folders created, you can create one to store ISO’s for your future VMs. Once you have created the folder, it is time to upload the ISO. Hit the upload button, navigate to your Downloads folder, and choose the ISO you just downloaded for Windows Server 2022. Give this time to upload. Once this is finished uploading, you are ready to spin up your first VM.
Configure Virtual Machine in ESXi
Let’s get started creating our first Virtual Machine for Windows Server 2022. If this is your first time ever, please follow along with the steps. If not, you can skip ahead if you want, but consider this… You could find my mistakes (if I made them), correct me, and help make this better for everyone. So maybe read it anyways, even if you have done this before :).
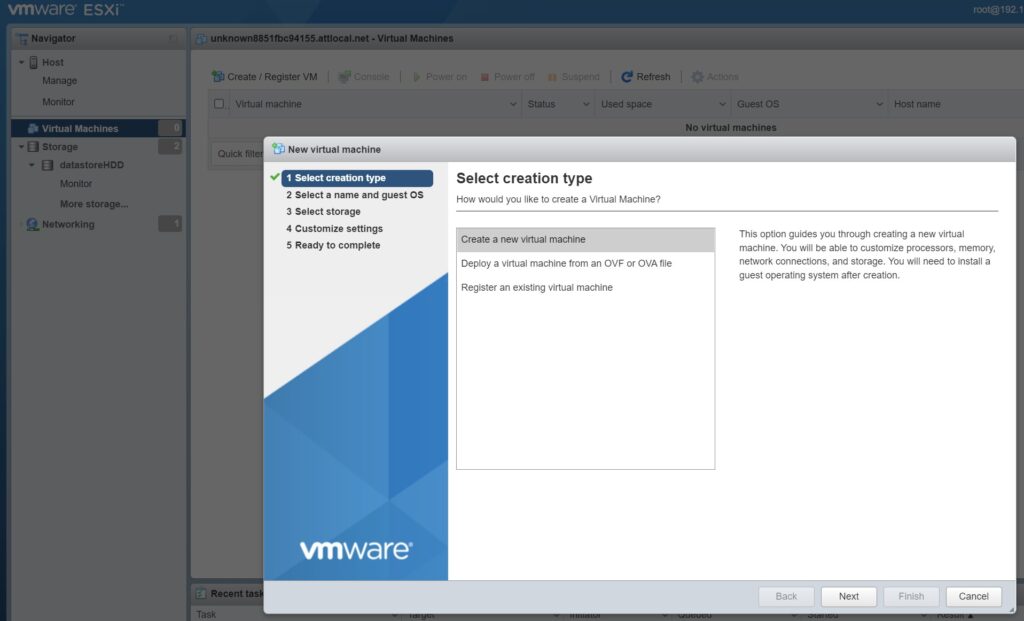
- From within VMWare ESXi, you want to navigate to Virtual Machines, on the left hand side of the screen. Hit the “Create or Register VM” button and you will see a screen popup. Make sure “Create a New Virtual machine” is selected. Hit Next to advanced to the next screen.
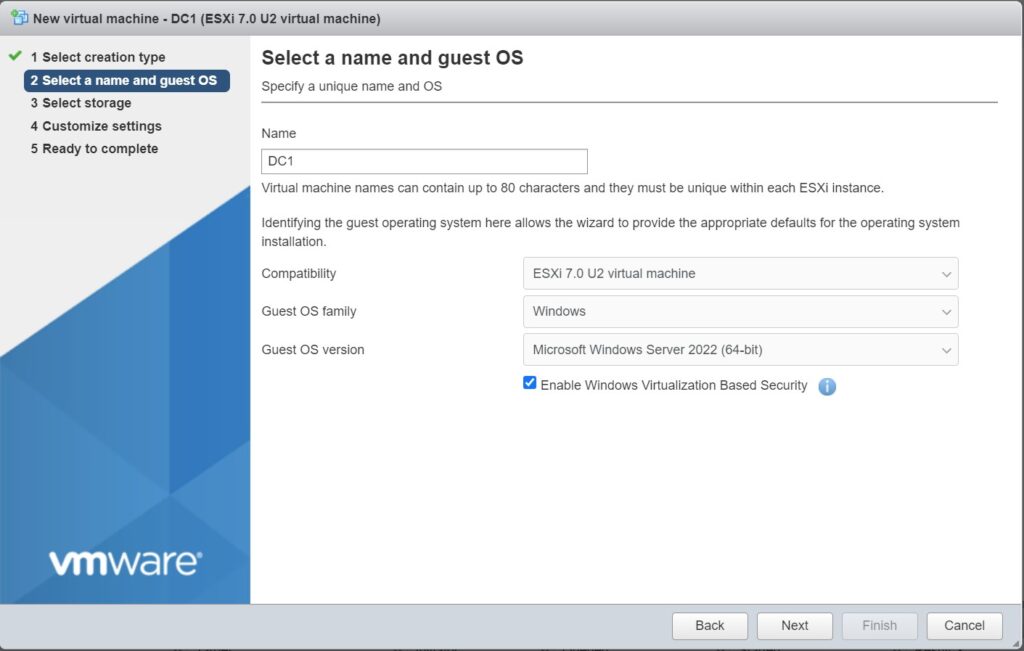
- On the next screen, give your VM a name, and choose the appropriate settings according to the OS you are planning on installing. In this case, it is Windows Server 2022 x64-bit version. I plan on this VM becoming my Domain Controller, so I named it DC1. You pick a name that you will recognize, and make it easy for you to identify without having to sign in to the server VM itself. Enabling Windows Virtualization based security is fine to leave off, unless you think you will need it in the future. It is not a requirement for a Windows Machine in VMware, so it is up to you to determine if you need it. Then hit Next.
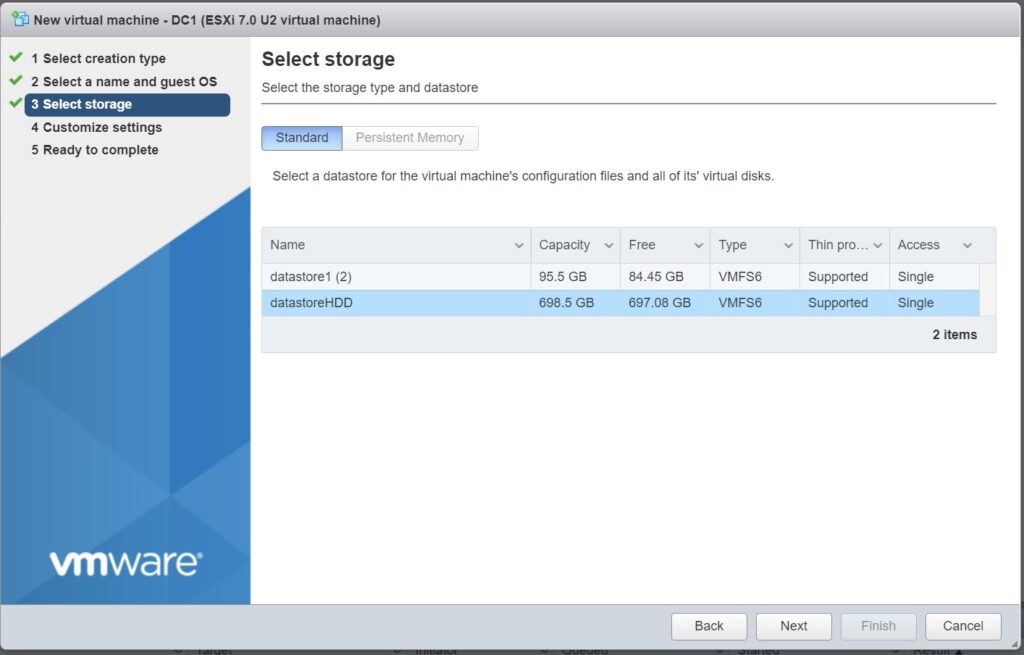
- On the next screen, you will see the storage options. If you only have one storage option, then just hit next through this screen. If you have more than one like I do, then consider what you will need. In some cases, you may want your domain controller to be on SSD to avoid poor performance for users. However, in my environment, I only expect a few employees, so performance on HDD will be fine, even if it means longer boot times. Hit next on this screen once you have made your decision.
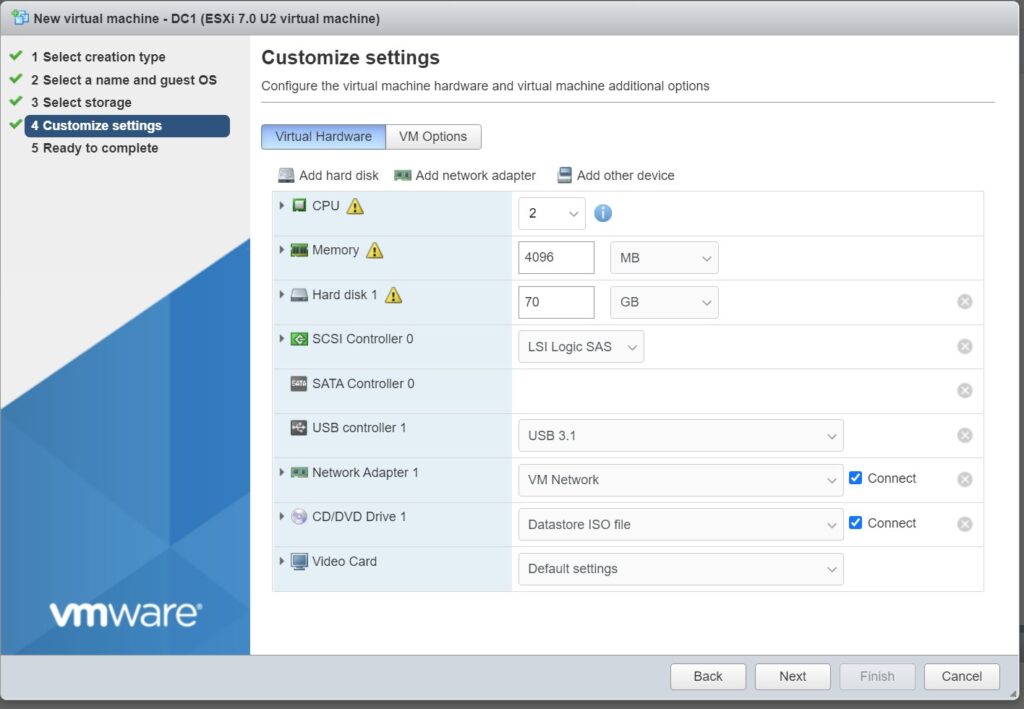
- On the Customize settings screen, we need to configure some settings for the VM. (NOTE: All of these can be changed later, but it is easier to get them set correctly in the beginning.) The default settings for CPU, Memory, and Hard Disk are fine. I reduced the Hard Disk to 70GB because I know the domain controller won’t need a ton of storage. We also need to attach the ISO to get Windows Server installed.
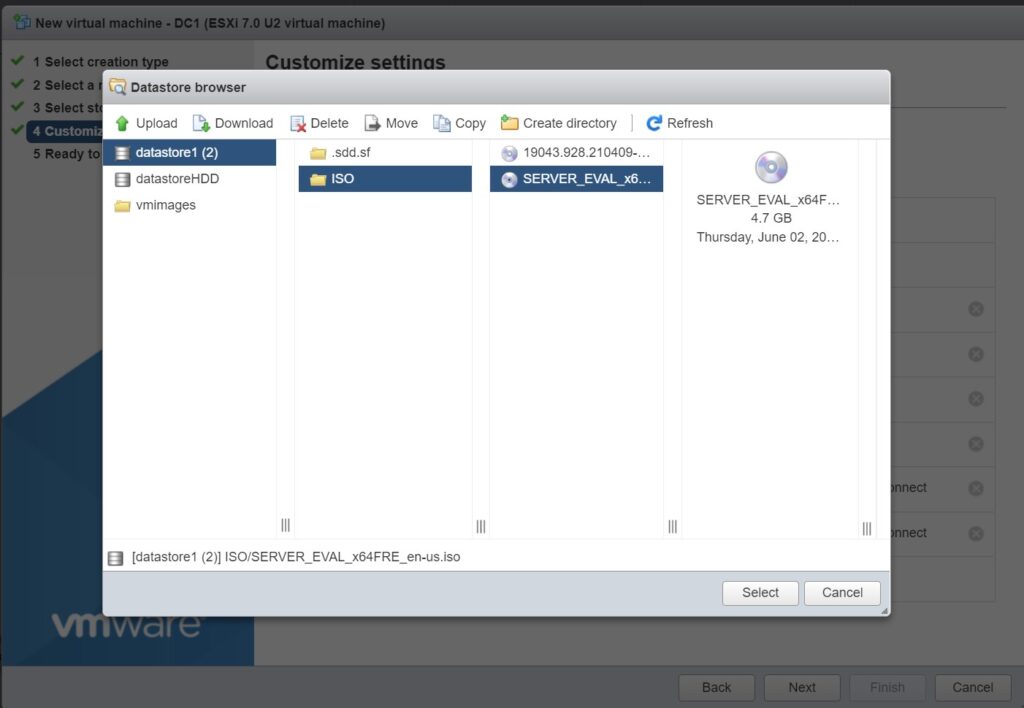
- Click on the dropdown for CD/DVD Drive. Choose Datastore ISO file. In the window that pops up, navigate to the Windows Server 2022 ISO. Select it, and hit the Select button. Make sure that the “Connect” checkbox is checked, and hit Next on the Customize Settings window.
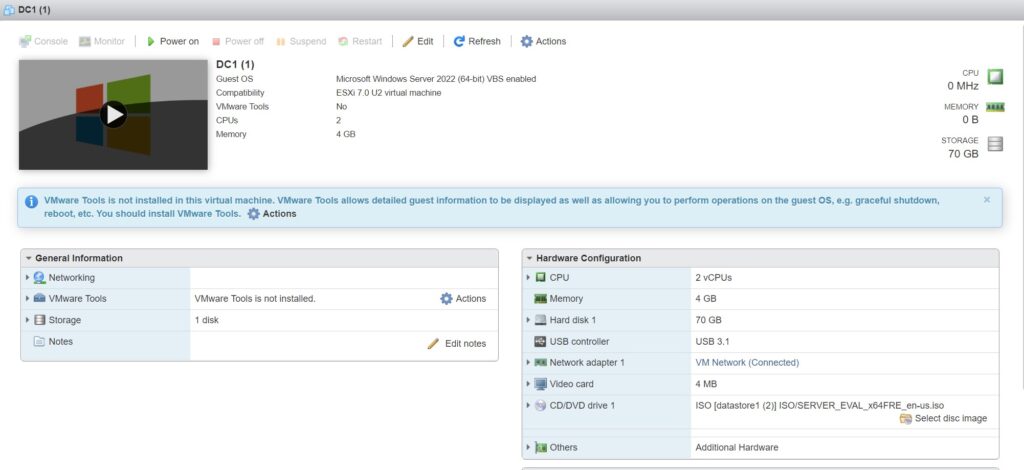
- Confirm your settings and hit Finish. VMWare will create the VM, and you are ready to install Windows Server.
Install Windows Server 2022
It is now time to install Windows Server 2022. Follow the steps below to complete this process.
- Navigate back to the Virtual Machines section in ESXi. Select the VM you just created, and power it on. NOTE: You should see the ISO connected to the CD/DVD drive on the VM page. If you don’t you need to re-connect it using the Edit button, and the steps above.
- After you power up the VM, you need to click on the preview screen, to open a larger view. Make sure your mouse cursor is in the window you opened (it should disappear), and follow the instructions to “Hit any key to boot from CD or DVD…”. This will bring you into the Windows boot landing page. (This may take a few tries. Don’t give up!)
- Once Windows loads, you will see the language selection screen. Choose what works for you, and hit Next.
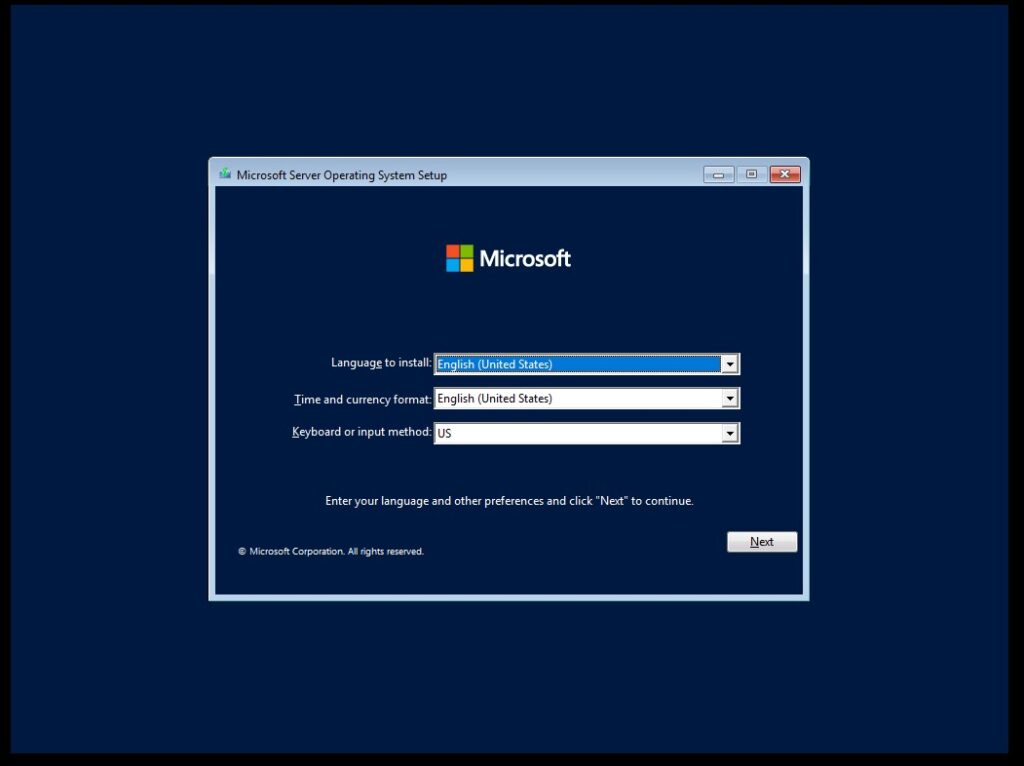
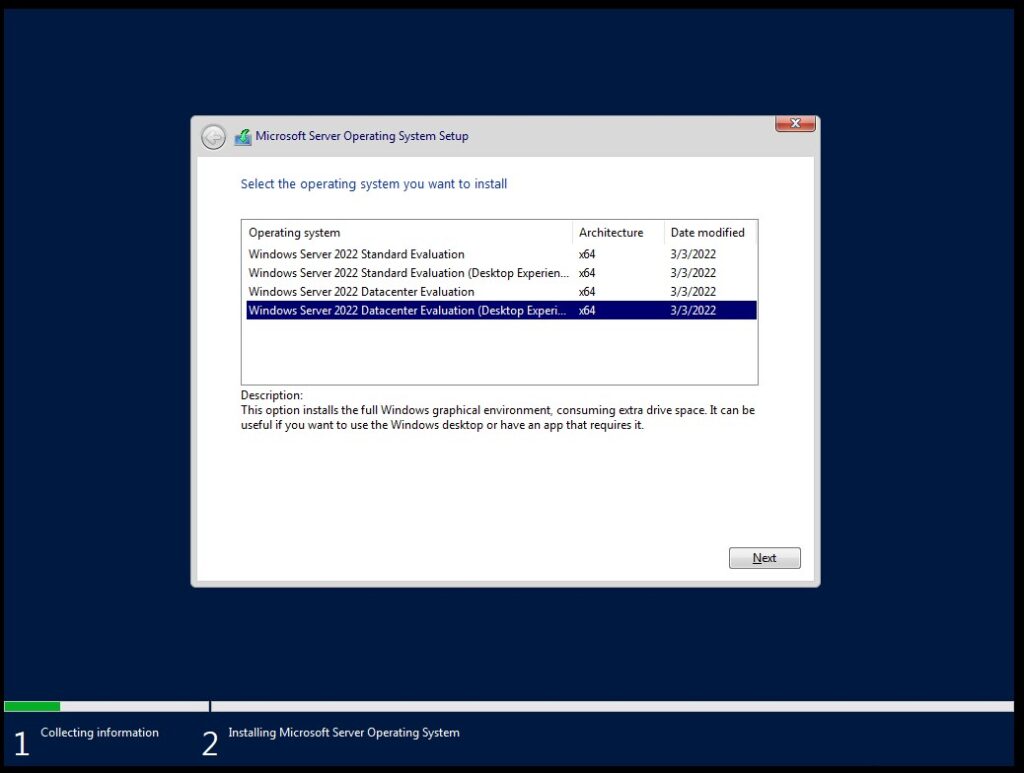
- On the next screen, hit “Install Now”. The next page will load for a minute, then bring you to a screen for choosing which version of Windows Server you want to install. For this, choose Windows Server 2022 Datacenter Evaluation (Desktop Experience). Click Next, accept the EULA, and hit Next again.
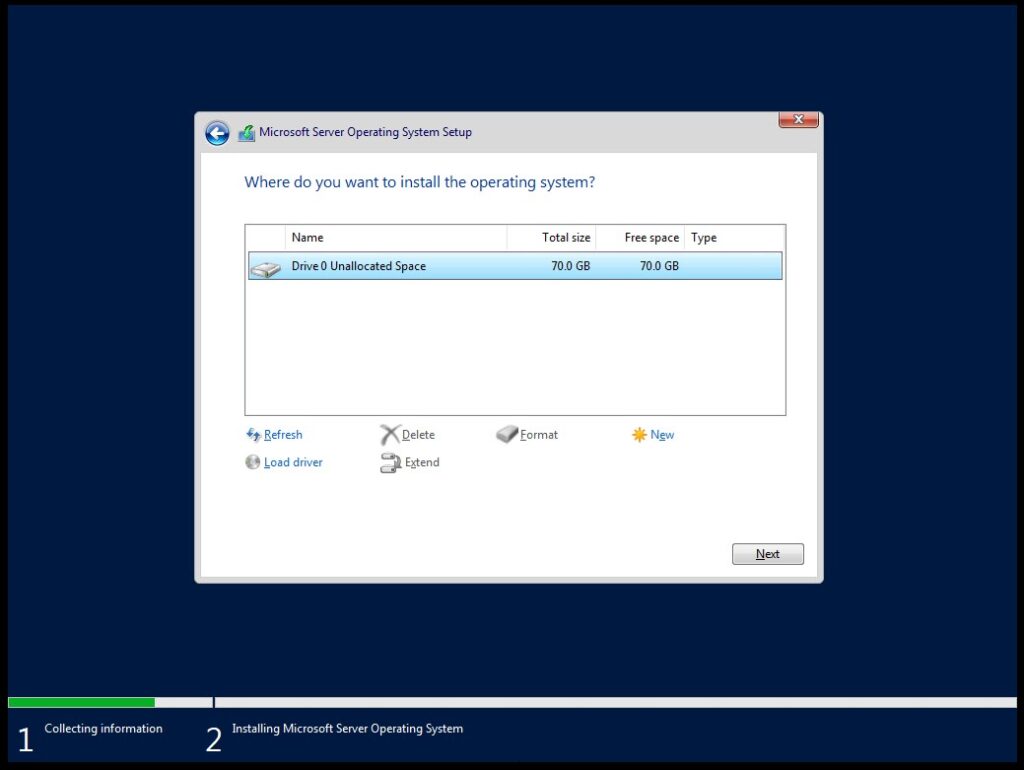
- After you accept the agreement, you will be taken to the installation experience screen. Choose Custom install, and hit Next. From here, we will allow the installer to create the necessary partitions, and hit Next to FINALLY begin the installation.
- You should see the loading screen pop up as the installation runs. It will reboot automatically once it is finished installing.
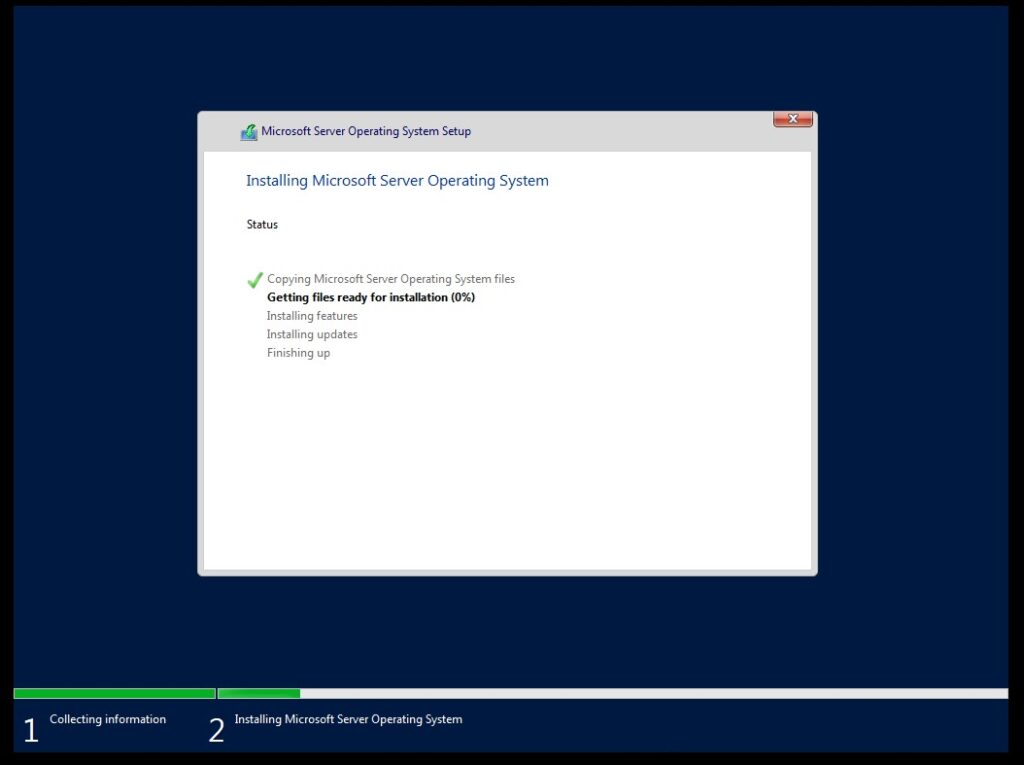
- Once it finishes this step, it will reboot and take you to a screen to finish the initial configuration of the Server. This process varies in time based on the hardware resources it has available, and whether you used an SSD or HDD.
- Once the server installation is finished, you will be greeted by a Administrator account setup, where you need to create a password. MAKE SURE this is a strong password because it is a local admin in a Windows server. Even in a Home Lab you should consider the risks of not thinking about security from the beginning.
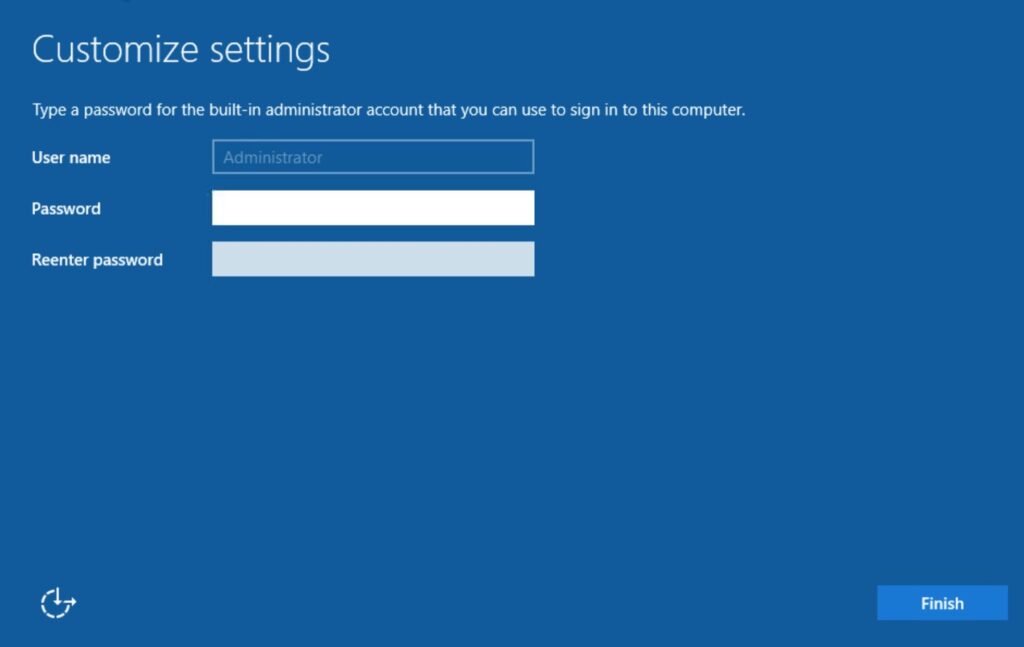
And there we are, all finished with the installation of our first Windows server in ESXi. Great job, you made it through all my ramblings. Its time to begin configuring our servers so they have some functionality, but for now, that is all we are trying to do here.
Conclusion
Whether or not you expect to work in a Windows environment, the fact is that you still need to know it. So many of the worlds businesses rely on Windows Server, so it is important for every Home Lab-ber to understand the basics. Installing Windows Server in a VM is step one on that journey. In the next article, we will discuss configuring some common Windows Server roles and installing our Domain Controller into the environment. From there, we will begin installing and configuring the firewall, and begin to get some structure into our Home Lab.
I sincerely hope you enjoy this series. Even if it is too basic, or I am too long winded, I hope you were able to follow along these steps, and get this part done. The beauty of this article, is that you now understand the general basics of creating a new VM. Most of these steps are transferrable to non-Windows servers because virtualized servers are very common everywhere.
As always, hit me up on Twitter @SeeSmittyIT to let me know what you thought of this post. Thanks for reading!